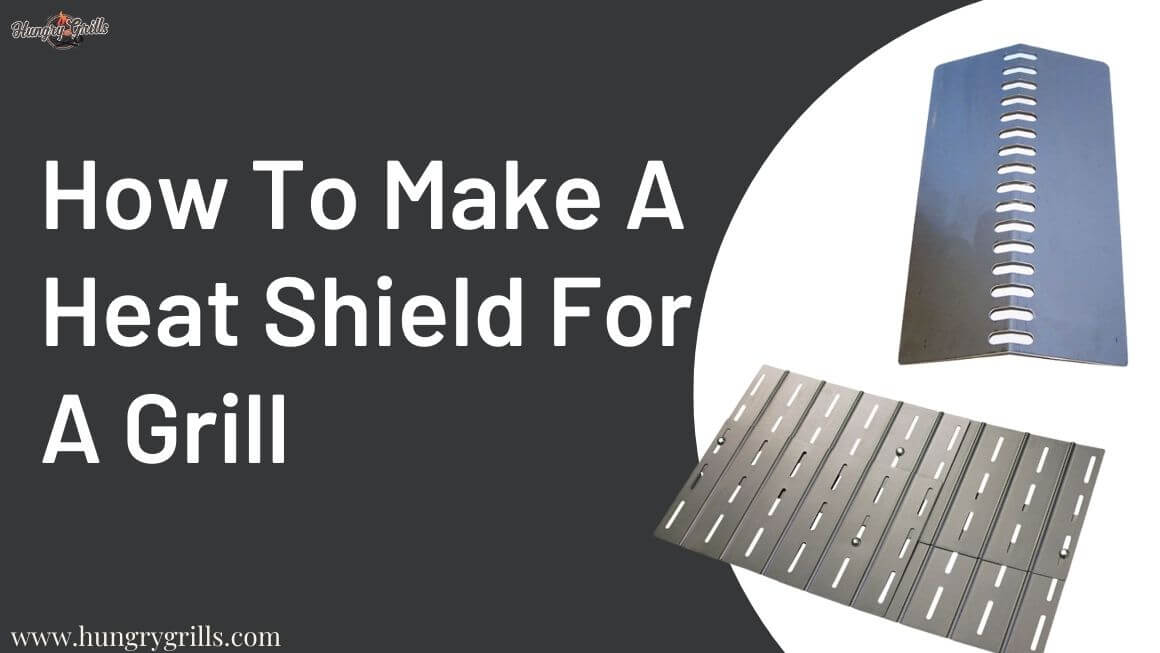
How To Make A Heat Shield For A Grill: Protect Your Food Now
Grilling is a wonderful way for you to enjoy summer. If you grill pretty often, then you must know why a heat shield is necessary for your burner.
Usually, grill burners work in high heat and directly combine the food with heat. So there’s a chance that the mear stick with the grill’s heating surface. Plus, the meat drippings can root to corrosion to the burners, which reduces the effectiveness and lifetime of the burner.

That’s why we’re here to talk about how to make a heat shield for a grill for those who don’t know how to make one. Grill heat shield will protect your food and the burner while grilling. Let’s start with the list of things you need.
What Do You Need To Make A Heat Shield For A Grill By Yourself?
Before you start making a heat shield for grills, you need to gather some equipment first. Here’s the list of things you need:
- Clean water and detergent.
- Vinegar
- Scale or measurement tape
- Steel Material
- Circular saw or steel cutting equipment
- Holder
- Hammer
- Welding machine
- Drill machine
- Stainless steel screw
How To Make A Heat Shield For A Grill At Home (Step-By-Step Guide)
Here’s a step-by-step procedure to make a homemade heat shield for a grill by yourself:
Remove The Grill And Clean It
First, take your grill somewhere in an open place, then take out the grill plate. If your grill plat is hot, then let it cool down completely; otherwise, it may burn your hands.
Now give the grill plate a good wash with clean water and detergent. If you think the plate isn’t cleaning properly with detergent, you can also use vinegar.
Measure The Size Of The Heat Shield
A heat shield is used for covering the burner to spread heat equally. That’s why you need to ensure that the heat shield is perfect in size so that it can cover the burner properly. Take a measurement tape or scale and measure the burner’s length, height, and width.
Cut The Material
Mark the heat shield material according to the measurement. Now cut the material following the mark with the circular saw or other steel cutting materials. Make sure you mark the exact measure, don’t cut it short or keep extra area.
Bend The Steel
After completing the cutting process, you’ll notice that the steel looks flat. You need to bend the material to bring it into shape. To hold the side of the steel, use a holder and bend the other side.
If the material is hard, you can also use a hammer to bend it. In case you need to join any part of the material, you can use a welding machine.
However, you may don’t need to weld anything if you’re making a heat shield to cover a single burner.
Create Holes To Attach The Heat Sheild
Creat holes on each side of the grill using a drill machine. Remember to maintain the correct distance between the holes since you need to screw up the shield onto those holes.
If you have a single burner, then you have to make two holes on each side. But if you need multiple shields, create more holes as required.
Place The New Heat Shield
Now you need to clean the new heat shield with water and vinegar. After cleaning it, allow it to air dry. Once the heat shield is dry, place it onto the grill and check if it covers the whole burner or not.
If the heat shield doesn’t fit properly, you need to make a new one again.
Screw Up The New Heat Shield
We suggest you screw up the heat shield for convenience and better use. You can unscrew the heat shield whenever you need to clean it. That’s why it’s a better option for you than welding the shield and attaching it with the burner completely.
Wrap Up
Your heat shield should be ready to use by now. Place back the grill back over the new heat shield and turn the fire on the burner. Now check if the heat shield you just made is able to spread the heat equally or not. And if everything is okay, then congratulation, you made it!
Safety Instruction To Maintain While Making A Heat Shield
While making a heat shield at home, you should maintain some safety instructions. Precautions to take are as follows:
- Use a safety kit while making the grill shield.
- When you cut the metals, wear safety google to prevent shards from going into your eyes.
- Make sure to work on the project when the grill is cool. If you’ve just used the grill, then allow it to cool down thoroughly for at least two hours.
- You need to cut the steel, weld, mark, and drill. That’s why you should wear welding gloves to prevent getting hurt on your hands.
- Don’t cut the steel material somewhere in the non-parallel place. Cut the material on a welding table or the parallel ground.
- Make sure you don’t make any direct connection between the heat shield and heat source.
- Don’t place the heat shield over the metal grill.
FAQs
- What can be used as a heat shield?
You can use a stone, brick, or tile heat shield as an alternative to a steel heat shield. All these alternatives are equally effective, but no, they don’t operate similarly. These materials can absorb heat then release it as air. So you can use these dense materials if you want to grill in air heat than direct heat.
- Is it necessary to season the grill after cleaning?
First of all, no, this seasoning isn’t about adding salt and pepper. Seasoning a grill refers to applying oil to the cooking surface then heating the oil for 2 minutes in high heat. After heating, wipe off the excess oil. It’ll prevent the possibility of rust and makes them half-prepared for your next grilling session.
Conclusion
The method we shared on how to make a heat shield for a grill isn’t complex at all. All you need to do is make enough time to complete the task, grab the necessary equipment, follow the steps accordingly, and maintain your safety while working.
Make sure to clean the shield after each use, but don’t use water or store it while the shield is not dry completely. Steels are made of combining iron and carbon, so it’ll create rust on the shield if you don’t maintain it properly.
Are you really enjoying different types of dishes and love to make tours several times? Grilling something is the core of enjoyment if you make fun with friends & family.
However Hungry Grills is most trustable yet in shares knowledge about Grills and its related chop chop job & making loyal reviewed to readers.
-Mitchel Shawn


