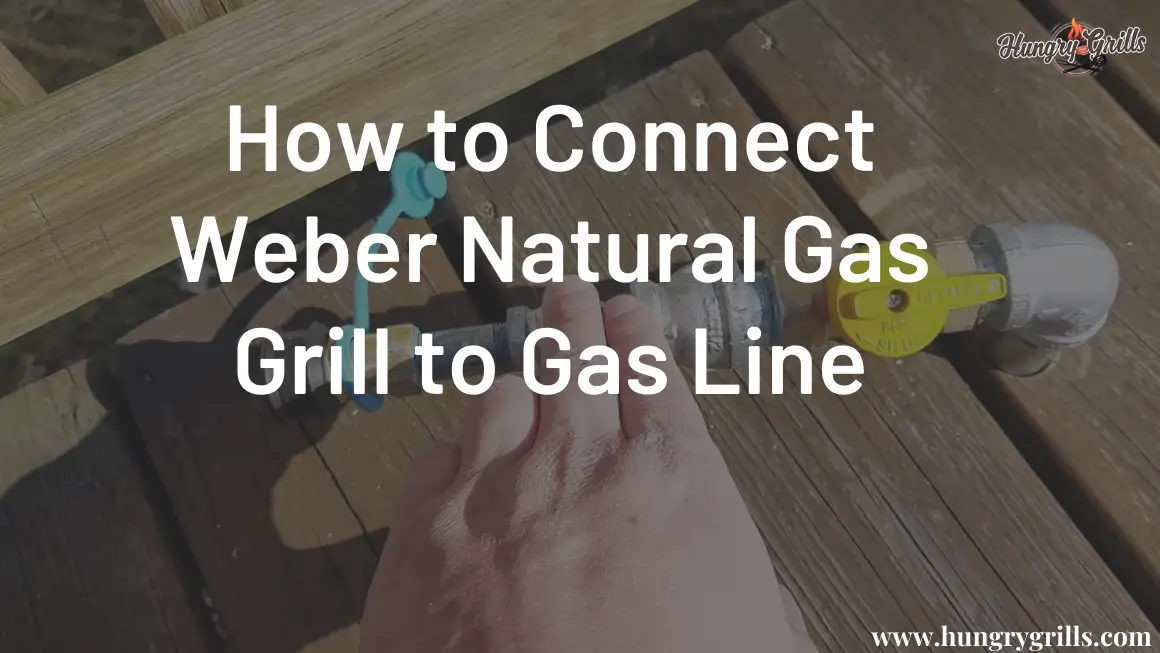
How to Connect Weber Natural Gas Grill to Gas Line
If you’re lucky enough to have a natural gas line in your backyard, then you’re probably wondering how to connect your Weber Gas grill to the gas line. Luckily, it’s not as complicated as you might think. With a few simple tools and a little bit of know-how, you can have your grill up and running in no time.
What You’ll Need
- A Weber Natural Gas Grill
- A Gas Line
- A Hose
- A Regulator
- A Quick Connect
- A Flex Line
- A Wrench
- Teflon Tape
- A Screwdriver
In order to connect your Weber grill to a natural gas line, you’ll need a few things. First, you’ll need a flexible gas line. This can be purchased at most hardware stores. Second, you’ll need a gas shut-off valve. This is a safety device that will prevent gas from flowing to your grill if there’s a problem with the connection.
Third, you’ll need a wrench to tighten the connection between the gas line and the valve. And finally, you’ll need a screwdriver to attach the valve to the grill.
Connecting the Natural Gas Grill to the Gas Line
If you’re like most people, you love the taste of food cooked on a gas grill. The convenience of being able to cook outdoors, without having to worry about starting a charcoal fire, is another plus. But before you can start cooking, you need to connect the grill to the gas line. Here are step-by-step instructions for connecting a gas grill to a home gas line:
- Begin by shutting off the gas at the regulator. To do this, rotate the knob clockwise until it is in the “off” position. This will ensure that no gas is flowing through the lines while you are working.
- Next, disconnect the hose from the regulator by unscrewing the nut that is holding it in place. To do this, turn the nut counterclockwise. Once the nut is loose, you can pull the hose off of the regulator.
- Once the hose is disconnected from the regulator, take the other end and screw it onto the gas inlet on the grill. To do this, simply screw it on in a clockwise direction. Make sure that the connection is tight so that no gas can leak out.
- The final step is to turn the gas back on at the regulator. Again, rotate the knob counterclockwise to the “on” position. This will allow gas to flow through the lines and to the grill.
- Once the gas is turned back on, it is important to check for any leaks that might have developed. To do this, apply a small amount of soapy water to all of the connections. If there are any bubbles, this indicates a leak. If there are any leaks, you will need to tighten the connections or replace the hose.
By following these simple steps, you can easily connect your gas grill to a home gas line. Once the connection is made, you’ll be able to enjoy the convenience of cooking with gas
Tips and Tricks
Here are a few tips and tricks to help you get the most out of your natural gas grill:
- Always light the grill with the lid open. This will help to prevent any accidents.
- When you’re finished cooking, be sure to turn off the gas at the shut-off valve. This will help to prevent any leaks.
- If you’re not using the grill for an extended period of time, it’s a good idea to disconnect the gas line. This will help to prevent any accidents.
Conclusion
Connecting your Weber grill to a natural gas line is a relatively simple process. With a few tools and a little bit of know-how, you can have your grill up and running in no time. Just be sure to follow the tips and tricks outlined above, and you’ll be grilling like a pro in no time.
Are you really enjoying different types of dishes and love to make tours several times? Grilling something is the core of enjoyment if you make fun with friends & family.
However Hungry Grills is most trustable yet in shares knowledge about Grills and its related chop chop job & making loyal reviewed to readers.
-Mitchel Shawn


